
How to Customize Certificates in your Learning Management System
When your training participants complete your training, it is important that you can provide credible documentation of it.
This is why we provide a certificate template in our Learning Management System so that you can provide credible proof of a trainee completing their workshop. Certificates can be used to demonstrate accomplishments for resumes, LinkedIn, professional development, or applying for funding.
In this week’s blog post, we discuss how to redesign your certificates, so they reflect your branding and provide credible documentation for your trainees.
Please note, that to ensure consistency, the certificate template does not allow you to move the name, date of completion, and course title.
Getting Started
Your certificate template comes in a PSD file, sent by our support team or available for download on our website. A PSD file makes this certificate customizable in Photoshop or Photopea. For the sake of this blog post, I am going to show you how to customize using Photopea, because it is free.
First thing’s first, bring up Photopea using your web browser. You will see a space to drop files.
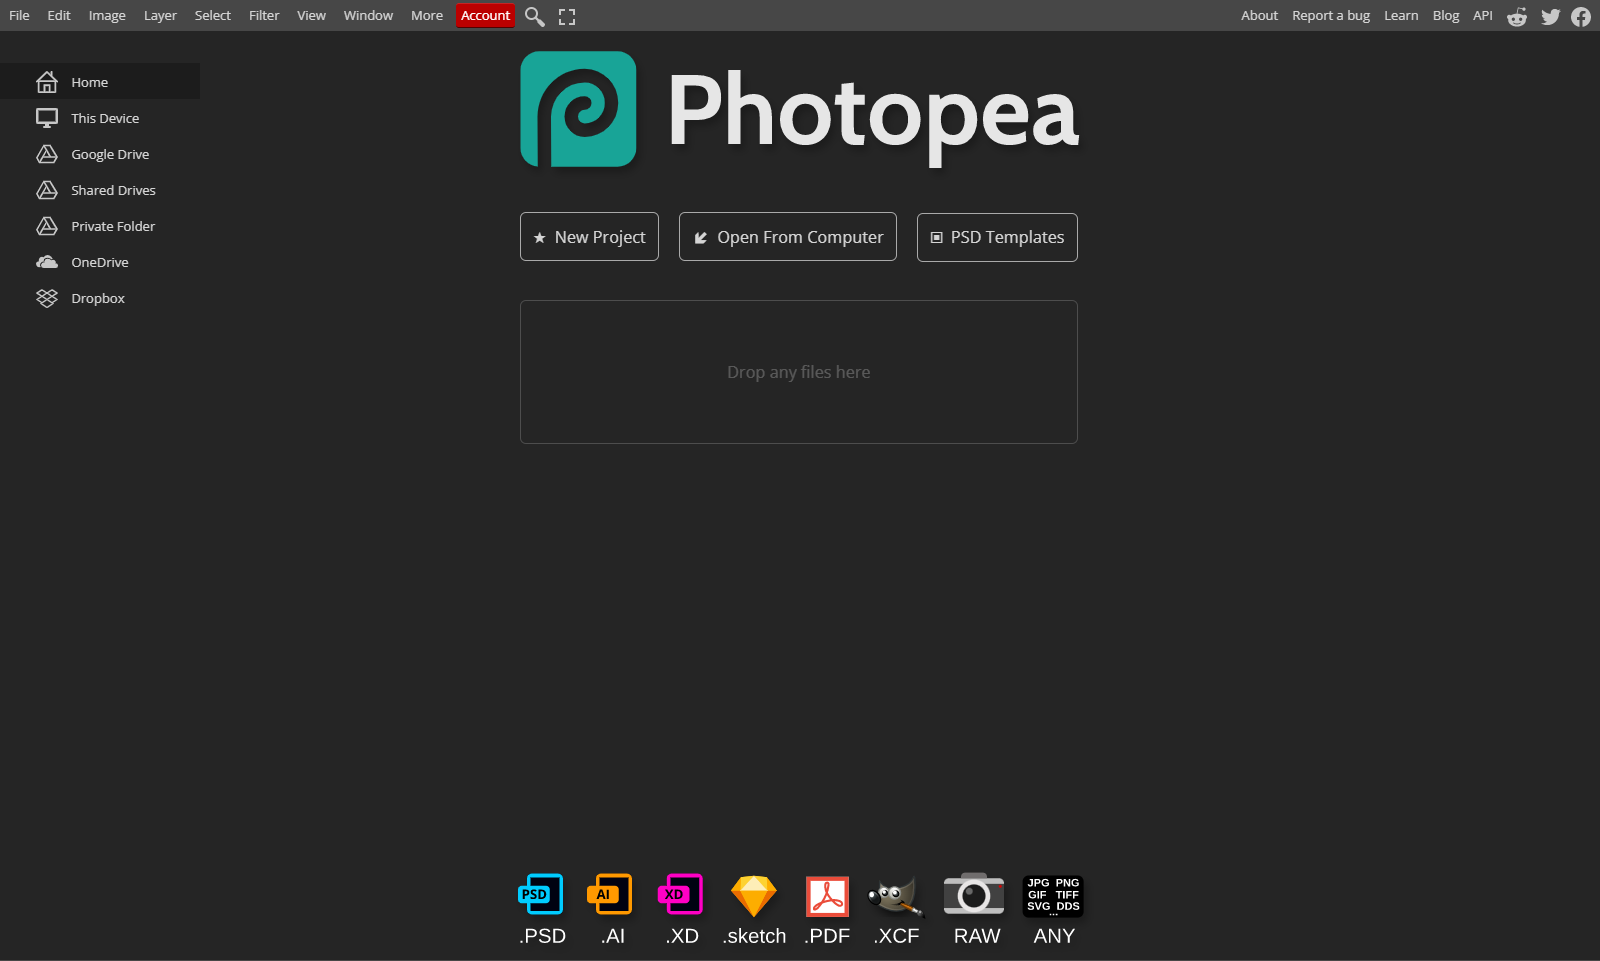
Drop your PSD file certificate template. This will bring up your template in the program. The template provided in our LMS is pretty plain, but it gives you the chance to customize and rebrand it as your own.

Add a Border
There are two options for borders already implemented into the certificate template, you can simply click on the small box beside the one you want (a small picture of an eye will appear when you click the box).
This will give you a default grey border. If you would like to change the color of the border, you’ll want to double-click on the border you selected and check off the color overlay. Click OK. Click on the down arrow beside the border you selected. Double click color overlay.
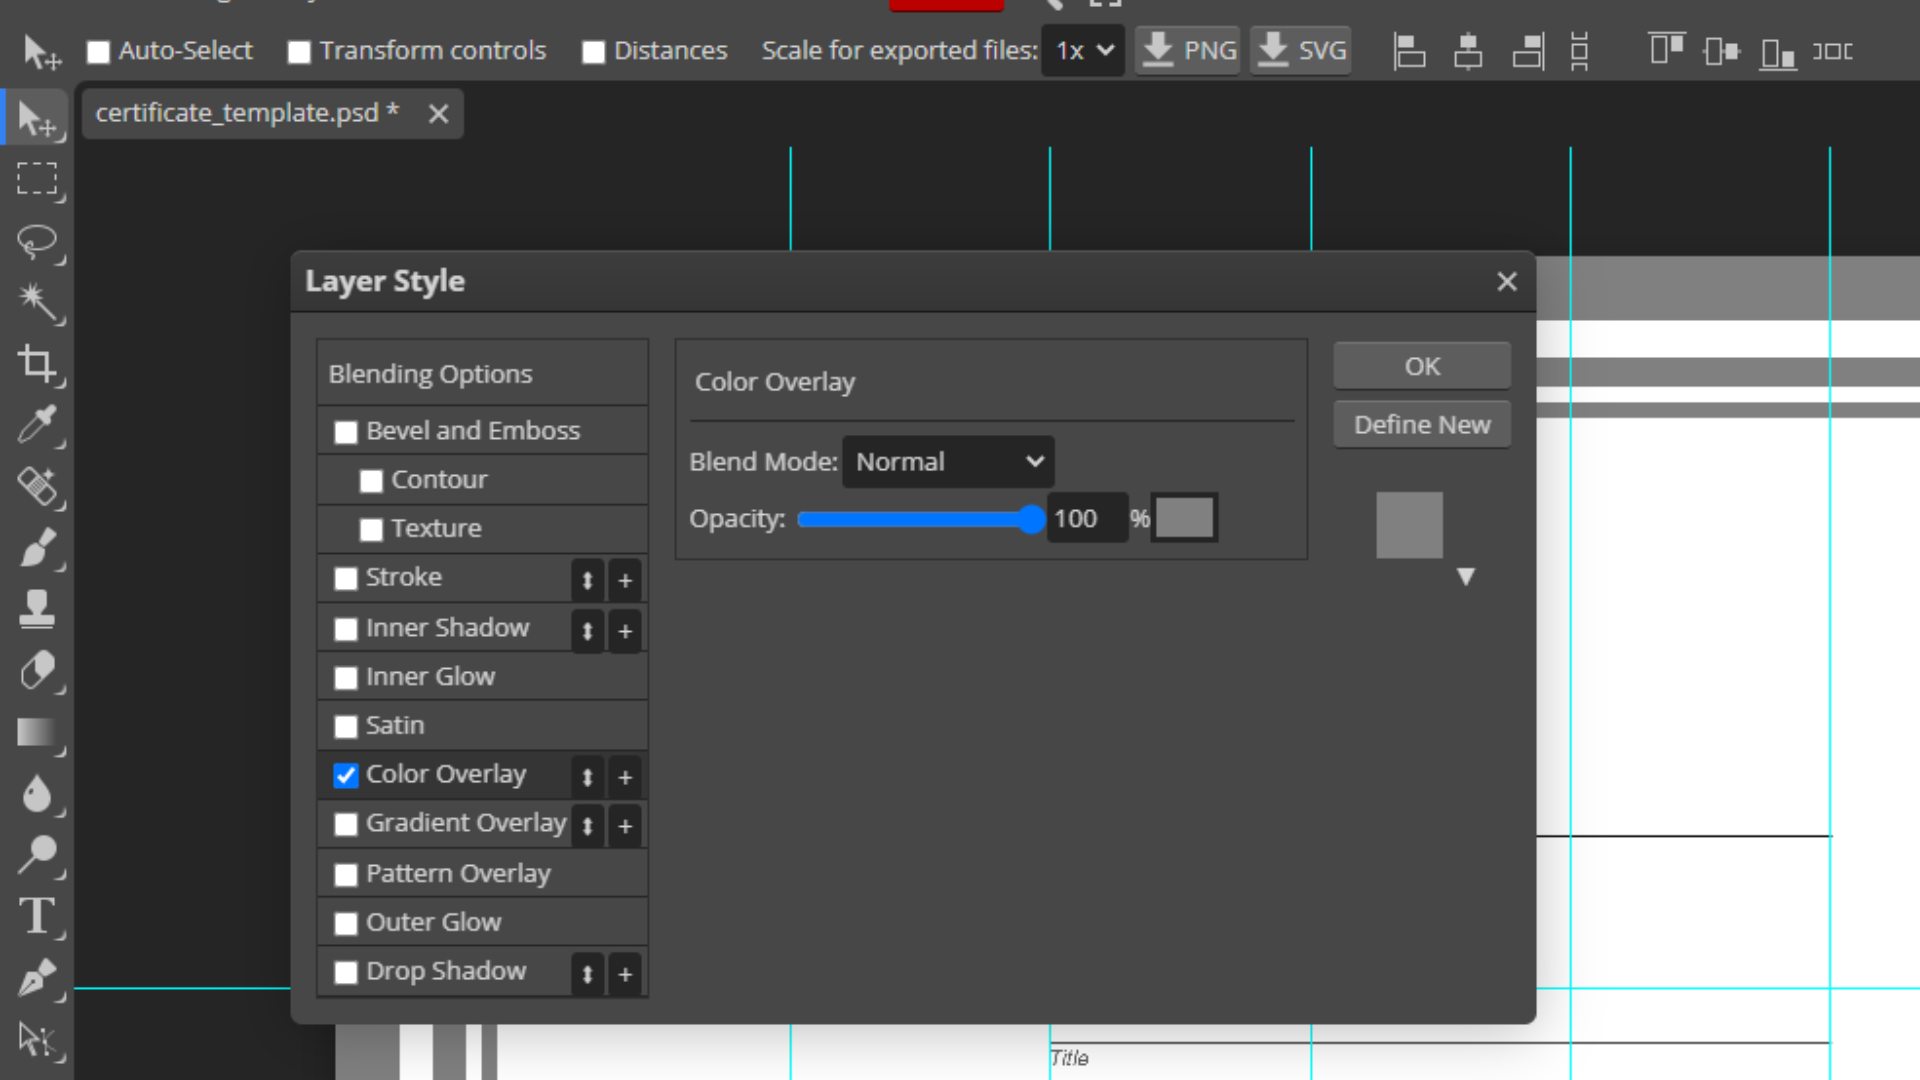
Click on the box showing the color, and input the color code you would like for the border.

Click OK, then OK again. And voila! A custom border for your training certificates. Looks better already, doesn’t it?
Incorporate a Seal
Certificate seals add a decorative touch to awards and other paper or digital documents that distinguish them and give them added credibility. To add a bit more flair to your certificate template with a seal, you first need an image of one. I got mine from Canva. Ensure you download your seal with a transparent background or that the background color is the same as your certificate. I downloaded mine as a PNG and saved it to my desktop, then simply dragged it into the certificate.

Incorporate Logo
As a trainer, having your own personal branding or incorporating organizational branding adds some additional customization. Including your logo is similar to incorporating your seal. Simply download your logo as a png or jpeg file with a matching or transparent background and drag it in.

It’s coming together even more now, isn’t it?
Text Components
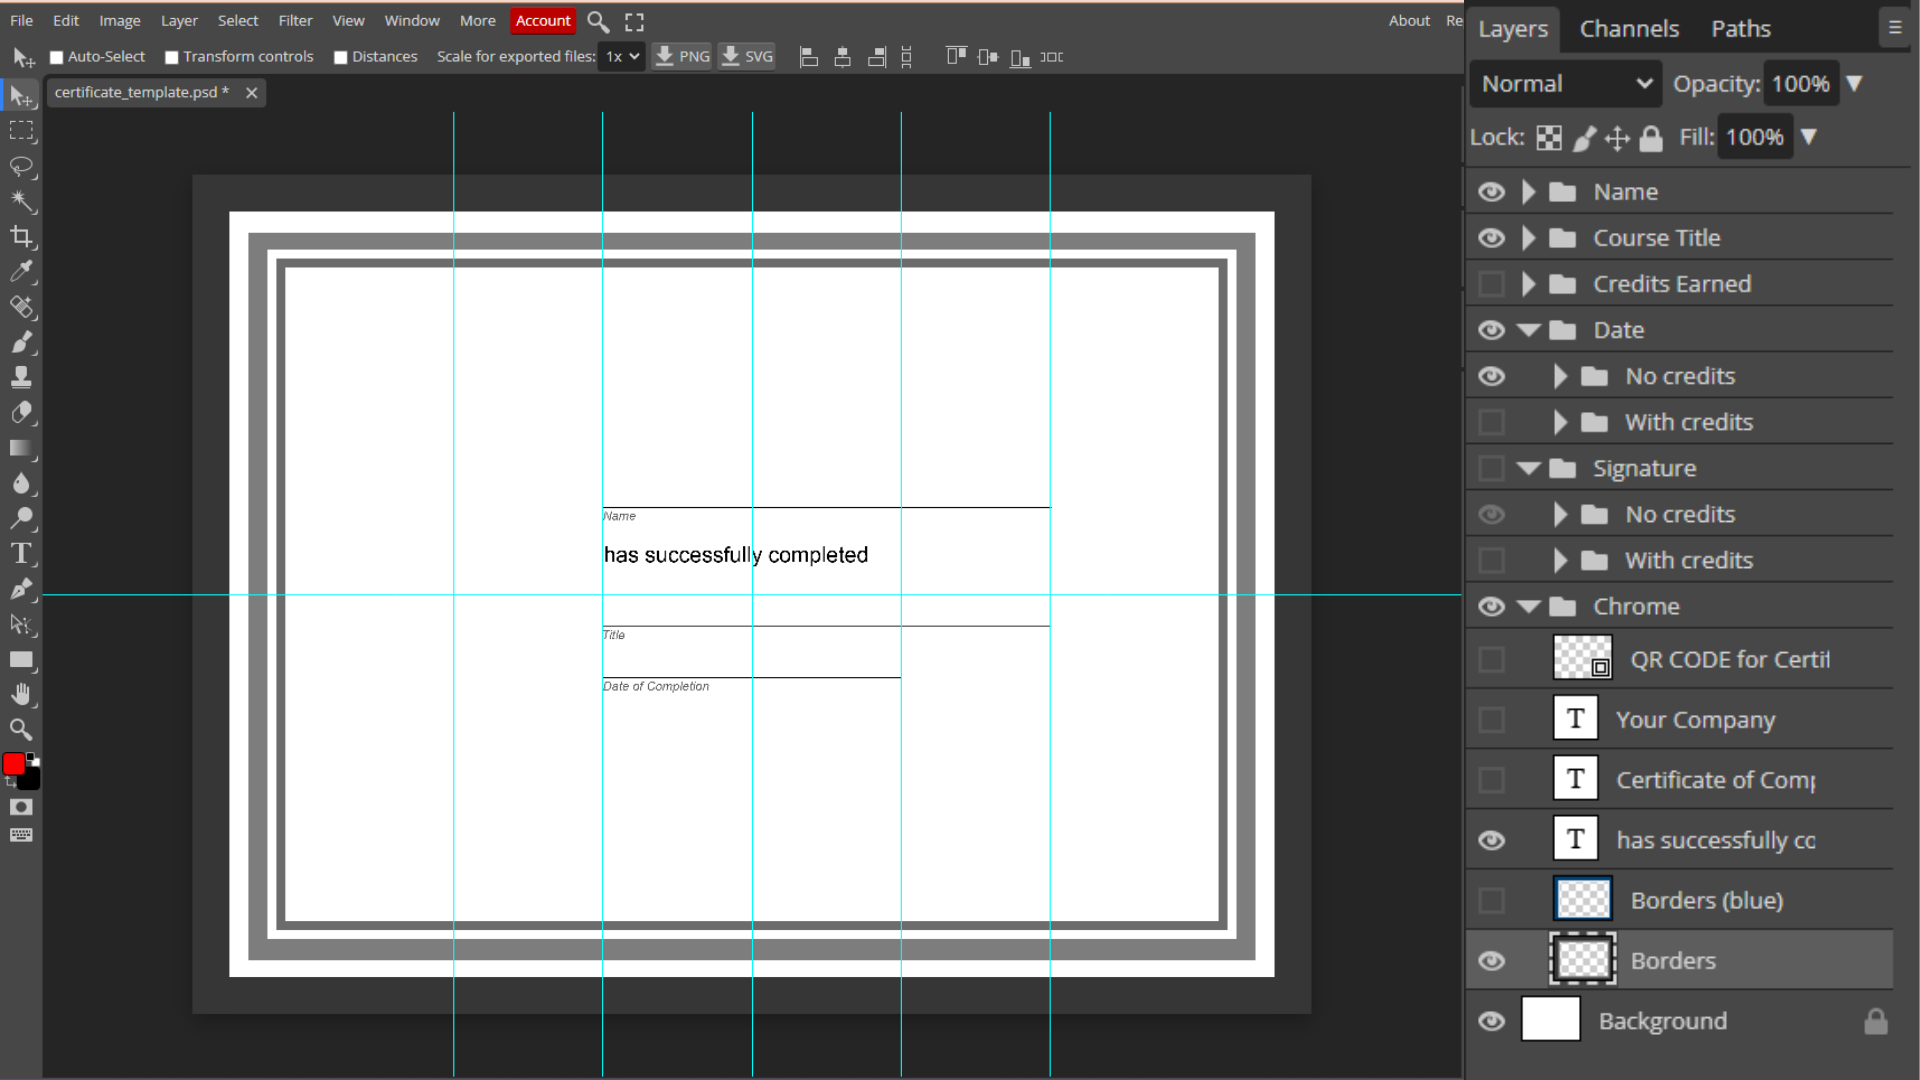
Our certificate template has pre-set text components you can easily incorporate by clicking the small box next to it to reveal them. These include:
- Name
- Title of Course
- Date of Completion
- Credits earned
- Space for Signature
Using these ensures you have all the necessary information on your certificate. You can find many options for text to incorporate by clicking the down arrow beside the layer titled “Chrome.”

You’ll see options to add your company name, title, etc. I used this to add the title “Certificate of Completion” (I moved my seal to accommodate this).

Change Fonts
Changing the font of your certificate allows you to give additional customization that reflects your brand. To change your font, select the layer with the text that you want to change the font of. I am starting at the “Certificate of Completion” section. Then click on the text symbol to bring up font options.

You can change the typeface and size. The font options are directly under the Character Tab. Do this for all layers with text, so the text is consistent throughout the entire certificate.
And this certificate is done! Don’t forget to save your file as a PNG so you can put it into your LMS.

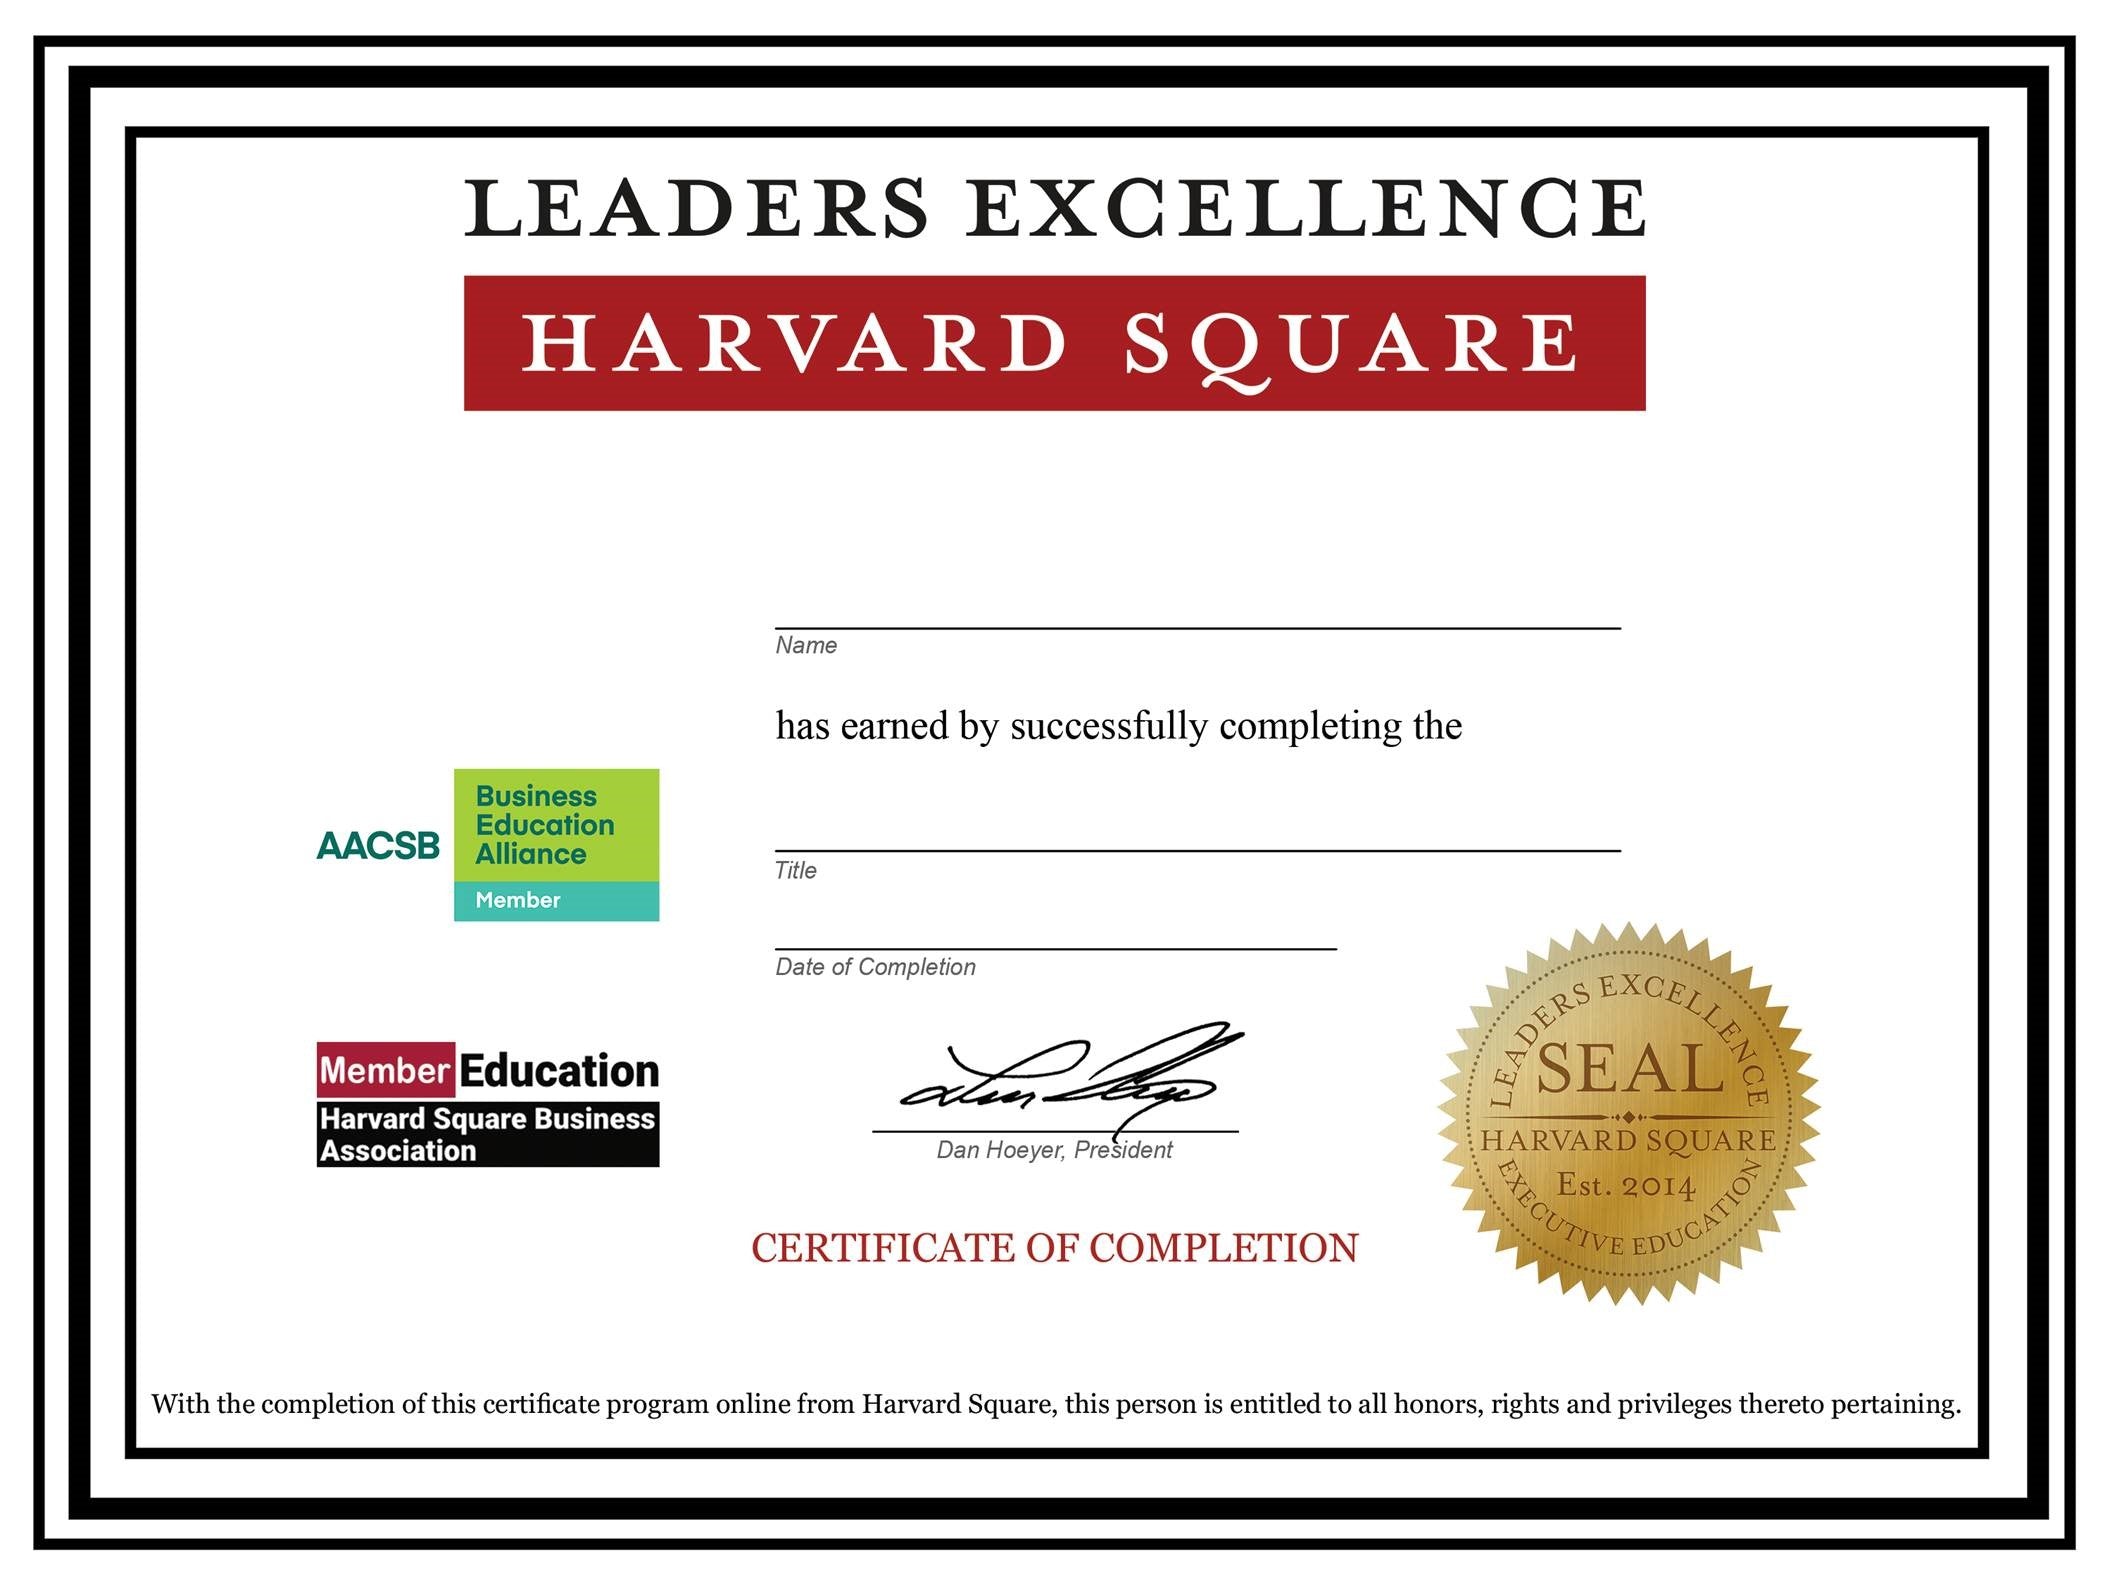
The options are really endless for customizing your certificate. See some other certificates below for inspiration.

Conclusion
We hope this blog post has helped you understand how to customize your certificates so your trainees receive well-thought-out, professional-looking documentation to mark their achievements.
Looking to automate your corporate training? Our Learning Management System is exactly what you need. Learn more about providing instructorless, convenient corporate training today!
Posted by Katelyn Roy on
I’m interested for doing online of business succession planning course.
Thanks
Themba
I had been looking for this option for a while. Great addition, and, as usual, great support from Seth and his team.
Thank you for this. Motivated me to personalize my certificates.
Interested